To install the DPM Agent on computers running outside the DPM domain is a little bit tricky – hopefully the steps below are helping to describe this procedere:
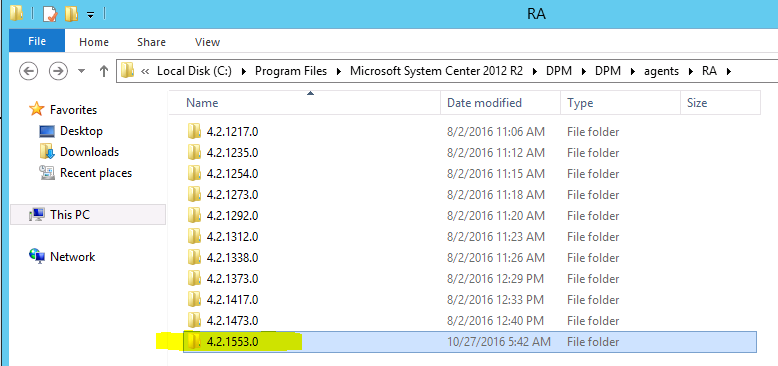
first find the agent setup files on DPM server – to do this locate the agent setup directory with the newest version – on DPM Server browse to C:\Program Files\Microsoft System Center 2012 R2\DPM\DPM\agents\RA
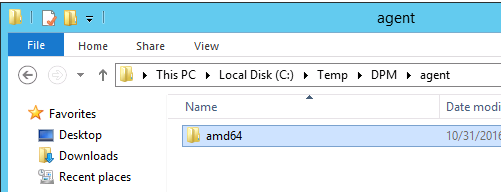
inside this folder copy the appropriate OS version – ie. amd64 for the 64-bit agent:

paste this on the computer where you want to install the agent – ie. C:\Temp\DPM\Agent:
on the computer where you want to install the agent, open a CMD with admin rights and change to the directory where you copied the setup files – ie. C:\Temp\DPM\agent\amd64\1033
DPM agent needs the FQDN of the DPM server – check nslookup if name resolution working correctly or edit Hosts file to have a local name resolution
HINT: for DPM the fqdn name and NETBIOS name are two different things (!) – if you enter fqdn here, you have to enter also the fqdn on DPM SERVER side while adding the agent…
to install the agent with showing a progress bar – enter the following command:
|
1 |
DPMAgentInstaller_KB3162908_AMD64.exe <fqdn_of_DPM_server> /IAcceptEULA |
to install completely silent – enter:
|
1 |
DPMAgentInstaller_KB3162908_AMD64.exe <fqdn_of_DPM_server> /q /IAcceptEULA |
(KBxxxx reference to the newest version of agent – in this case DPM agent 2012R2CU10…)
HINT: ..if you get a 0x80070005 “Access is denied” error – try to start the DPMAgentInstaller without parameters!
confirm the “Restart message” and change to the new install dir of agent:
|
1 |
cd c:\program files\Microsoft data protection Manager\DPM\bin |
enter the following command:
|
1 |
.\SetDpmServer.exe -dpmServerName <fqdn_of_DPM_Server> -isNonDomainServer -userName <new_accountname_for_dpm_agent> |
…choose a password and DPM is creating a local user account with the name you choose – you can check this with Computer Management->Local User and Groups->Users
Agent setup also creates the following three groups:
- DPMRADCOMTrustedMachines
- DPMRADmTrustedMachines
- DPMRATrustedDPMRAs
…the new account is member in the first two groups..
On DPM server do the following:
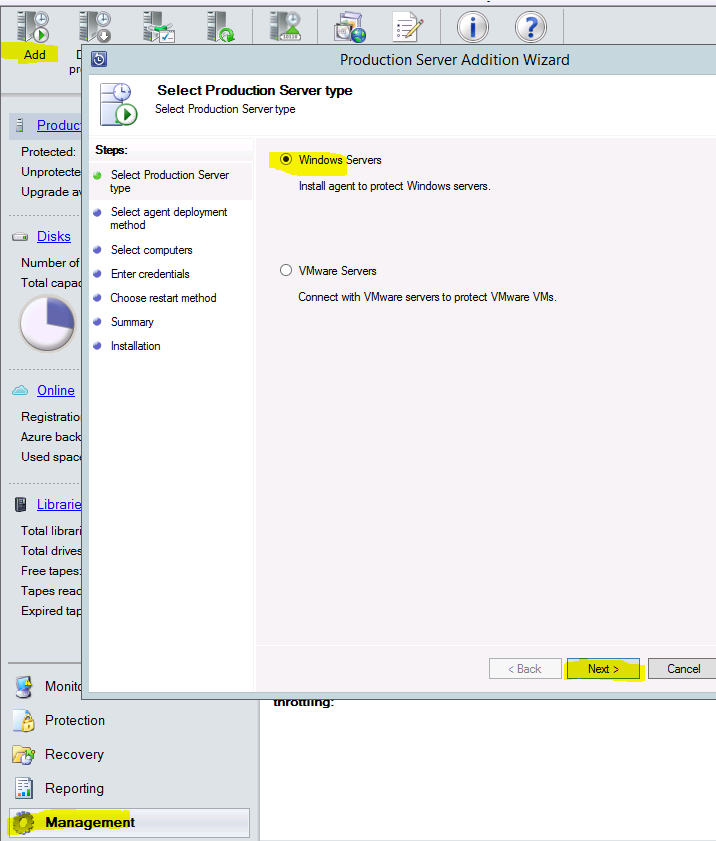
click on Management->Add -> Windows Servers:
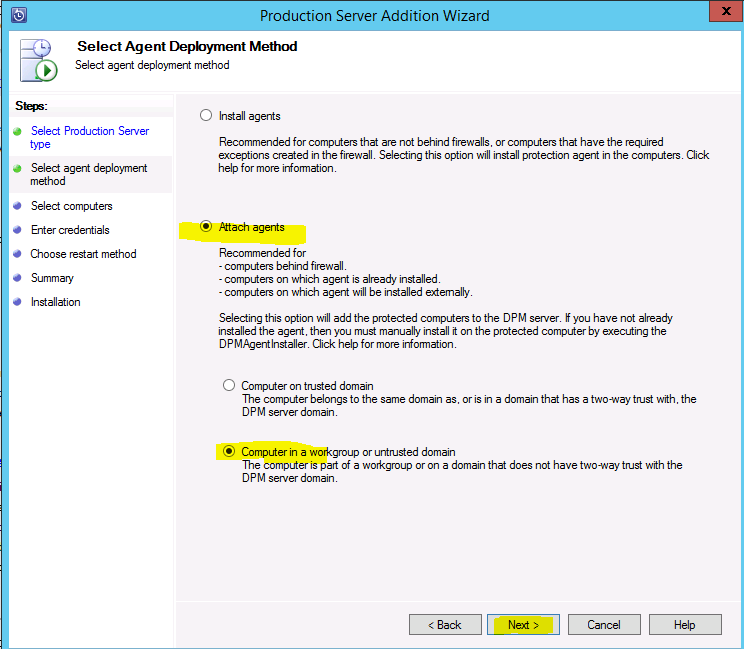
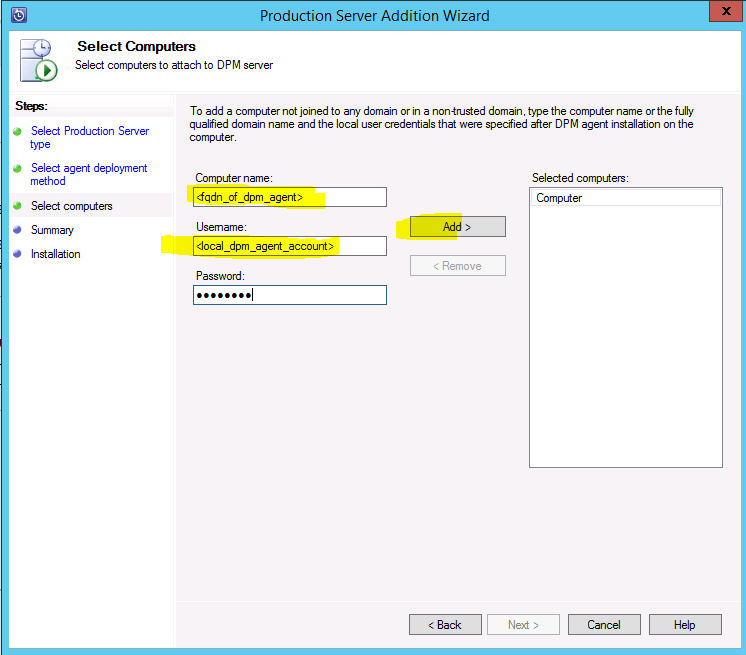
…be careful here to enter the correct values – FQDN must resolvable from DPM server – username is in format <new_created_local_account_before> (don’t use <DOMAIN>\<accountname> here !)
click attach:
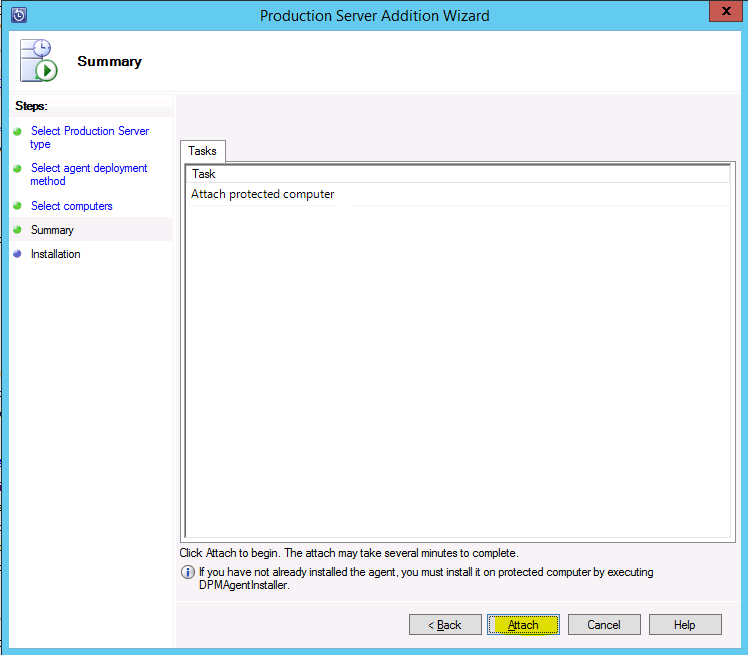
..agent should be attached with status “Success” – you have to restart the agent Computer to finish the agent Installation…
